This DIY mobile kitchen island is an easy project that uses steel shelf components, that you can purchase from commercial shelving suppliers, and a piece of Saligna or hardwood for the top. Add some castor wheels and you can use this mobile island in the kitchen, in a home office or craft / hobby room, or even wheel it outdoors for entertaining on the patio or deck.
4 of 38 x 38 x 790mm slotted steel angles – uprights*
6 of 38 x 38 x 530mm slotted steel angles – short crosspieces*
6 of 38 x 38 x 900mm slotted steel angles – long crosspieces*
*Assorted nuts, bolts, washers and bracing plates for angles
2 of 535 x 900mm hardwood – shelves
1 of 600 x 1200mm hardwood – worktop
4 of hardwood blocks for mounting castors
4 of 75mm castors, with 2 locking
16mm and 40mm screws
90mm dia. hole saw
TOOLS:
Hacksaw or Dremel MultiTool and cutting disk
Drill/Driver + assorted bits
Socket set for nuts*
Router or Dremel Trio with roundover bit
Jigsaw, circular saw or table saw
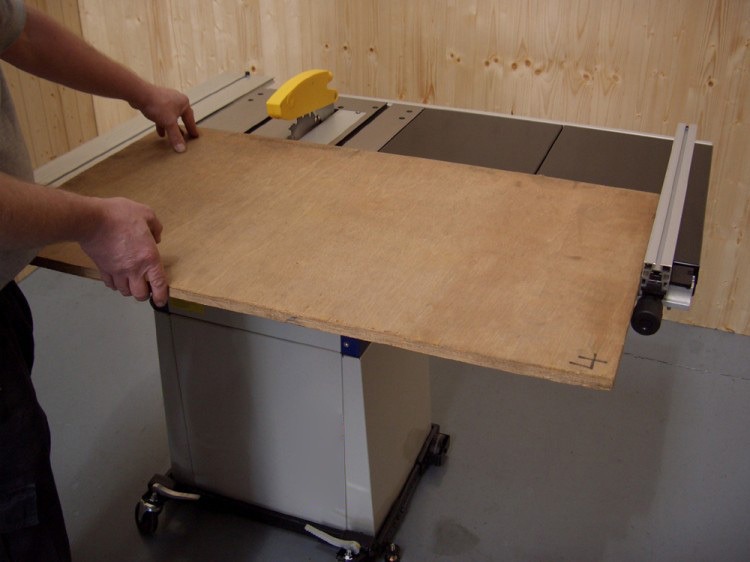
For the hardwood top and shelves, ask your supplier to cut this to size for you, or use a jigsaw, circular saw or table saw to cut to size. Use a router or Dremel Trio to roundover all the edges.
GOOD TO KNOW:
We recommend hardwood for this project as opposed to laminated pine, but you can substitute with laminated pine for a more affordable design.
1. Cut all the slotted angles to size using a hacksaw or Dremel MultiTool and cutting disk.
2. Using a socket wrench and socket, start to assemble the frame by joining the long and short crosspieces to the uprights. Insert a washer on either side of the slotted angle before inserting the bolt and nut to secure nuts tightly. You will also need 2 braces at each top corner in order to keep the frame stable once it has been assembled.
3. Before tightening the nuts fully with a socket wrench, use a measuring tape to measure the diagonals – all sides should be square.
4. Slot the shelves into position and drill 2mm pilot holes through the slotted angles into the corner of each shelf and at the centre and secure with 16mm screws.
5. If you need to cut your hardwood to fit, clamp a straightedge at both ends of the timber and use this as a guide for cutting a straight line. Roundover the edges with a router or Dremel Trio. Mount the top centrally on top of the frame and secure in the same way.
6. Attach a mounting block at each corner of the bottom shelf and secure with 4 x 40mm screws. Screw the castors onto the block with 16mm screws.
7. Optional: Use a 90mm diameter hole saw to drill out an opening in the worktop. Simply by mounting a bowl to the underside of the top, you can use this for easy clean up when preparing foods.
8. Add cup hooks and handles for kitchen accessories and towels for easy access.


